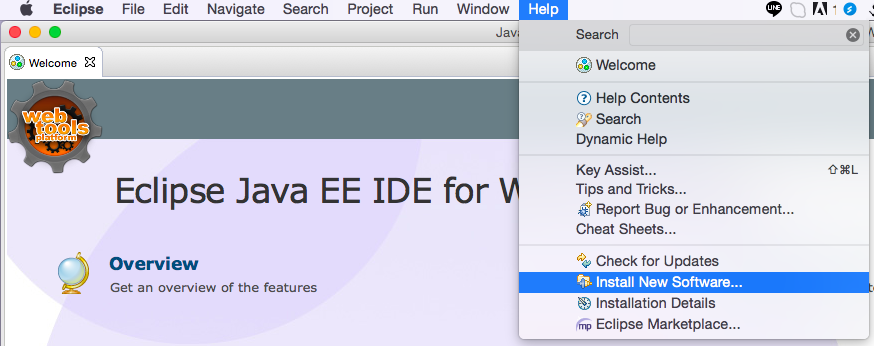
1. Create a GWT project by GWT plugin
2. Right click on the project -> Configure -> Convert to App Engine Standard Project
3. Right click on the project -> Configure -> Add Gradle Nature
4. Create text file named build.gradle file under project folder.
5. Write the configuration of this project in build.gradle.
For example:
//This section used for classpath setup
def ROOT_PATH = '{{ root_path_of_project }}'
def LIBS_PATH = ROOT_PATH + '{{ root_path_of_lib }}'
def MODULE_PATH = ROOT_PATH + '{{ root_path_of_module }}'

//Uncomment this field when trying to fetch the latest version of libraries.
apply plugin: 'java'
apply plugin: 'gwt'
apply plugin: 'eclipse'
apply plugin: 'war'

//Script version
version = '1.0'

//this concept is used to define the external dependencies that are available to the classloader
//during the execution of Gradle build script. In the declaration of dependencies only be used
//the method classpath, and you can’t use the configurations compile , runtime, testCompile, etc.
//because this block is just to declare external libraries references available to the classpath,
//if you need to provide any configuration like compile or runtime you need to do outside of BuildScript block.
buildscript{
 repositories {
  //The repository where to fetch gwt gradle plugin
  jcenter()

//  maven {
//            url 'http://dl.bintray.com/steffenschaefer/maven'
//        }
 }

 dependencies {
  //0.6
  classpath 'de.richsource.gradle.plugins:gwt-gradle-plugin:0.6'
 }
}


//Central repository to load the GWT library
//indicates where Gradle looks for any required dependency, in this case in the Maven central repository.
//For this example get gwt libraries and automatically fetch gwt dependencies;
//while the script is executing some lines like these appears in the console.
repositories{
 mavenCentral()
}

eclipse{
 //To setup output classess folder for gwt project
 classpath{
  defaultOutputDir=file("war/WEB-INF/classes")
 }
/*
 project{
  //To setup linked resource folder
  linkedResource name:'{{ name_of_linked_ref }}', type:'2', location: LIBS_PATH + '{{ path_of_linked_ref }}'
 }

    classpath {
        file {
            withXml {
                def node = it.asNode()
                node.appendNode('classpathentry', [kind: 'src', path: '{{ name_of_linked_ref }}', exported: true])
            }
        }
    }
*/
}

gwt{
 gwtVersion='2.8.1'
 modules 'com.digsarustudio.qbox.QBox'

 sourceSets{
  main{
   java {
    srcDir 'src'
   }
  }

  test{
   java {
    srcDir 'test'
   }
  }
 }

 logLevel = 'INFO'

 minHeapSize = "512M"
 maxHeapSize = "1024M"

 superDev{
  noPrecompile=true
 }

}

dependencies {
 //google cloud sql factory - This is very important for the project which uses Cloud SQL as the database.
/*
 compile 'com.google.cloud.sql:mysql-socket-factory-connector-j-8:1.0.10'
*/
 compile 'com.google.cloud.sql:mysql-socket-factory:1.0.9'

 //Google Gruava - For Cloud SQL MySQL Socket Factory
 compile 'com.google.guava:guava:26.0-jre'
  //[Optional] For NoClassDefFoundError while including MySQL Socket Factory Connector
  compile group: 'org.ow2.asm', name: 'asm', version: '5.2'
}
7. Reorganise the structure of folders to meet the GWT requirements
8. Copy the customised or 3rd party libraries under
9. Change the .level FROM WARNING to INFO in the logging.properties file if you want to see the INFO log in the logger.
10. Add <load-on-startup>1</load-on-startup> under a required servlet tag in the web.xml and <warmup-requests-enabled>true</warmup-requests-enabled> into appengine-web.xml if you need this servlet has to been initialised when this app starts up.
That's it. The next section will show how to deploy this GWT project upto the Google App Engine.
Coming soon:
1. How to make GWT project to use Cloud SQL in Java 8
2. How to skip the file amount limitation of a GWT project which is going to upload to Google App Engine.
3. How to initialise configuration of Web App when the app starts up.
Note:
For point 6:
After refresh the project, Gradle will reset the content of "{{ project_folder }}/.settings/org.eclipse.wst.common.component". This leads to that Eclipse cannot deploy the GAE project due to the appengine-web.xml cannot be found. The plugins will go through {{ project_folder }}/WEB-INF to look for it. However, WEB-INF is under {{ project_folder }}/war for GWT. To fix this issues, please place the following text of section in to this file:
<?xml version="1.0" encoding="UTF-8"?>
<project-modules id="moduleCoreId" project-version="1.5.0">
  <wb-module deploy-name="{{ project_name }}">
   <wb-resource deploy-path="/" source-path="/war" tag="defaultRootSource" />
        <wb-resource deploy-path="/WEB-INF/classes" source-path="/src"/>
        <wb-resource deploy-path="/WEB-INF/classes" source-path="/test"/>

   <property name="context-root" value="{{ project_name }}"/>
   <property name="java-output-path" value="/{{ project_name }}/war/WEB-INF/classes" />
  </wb-module>
</project-modules>